
Write something
Pinned

6d •
Weekly Discussion Board
January 6 – January 13, 2026 This thread will be pinned for the week and serves as the main discussion feed for Arc Raiders University. Each week, we’ll focus on a specific topic and collect: • Player experiences • Conflicting opinions • Patterns that actually hold up • Situations where guides fall short Reading is encouraged. Contributing is strongly recommended. This Week’s Topic: Buried City — Loot Efficiency vs Risk Buried City is one of the most-run maps, yet results vary wildly depending on: - Route choice - What you ignore - When you disengage For this week, focus your comments on: • Loot spots you no longer run and why • Containers that look good on paper but underperform • Areas that feel safe but consistently lead to trouble • Routes or rotations that quietly outperform others Try to explain why something works or doesn’t — not just that it does. How to Participate (Recommended Format) You don’t have to follow this exactly, but it helps keep things readable: • Map area or landmark • What you attempted • What actually happened • What you changed after Short comments are fine. Detailed breakdowns are better. Why This Exists Guides are only half the picture. Patterns emerge when experiences stack. This thread stays open all week. Key takeaways will be summarized and turned into future guides. Drop your input below 👇 Even one sentence helps build better information.
3
0

3h •
Tool Tip: Arc Defense
When considering smaller flying Arc, try using Seeker Grenades! These puppies usually take out Wasps with 1, and Hornets with 2. Snitches need 3, but also useful when paired with a Wolfpack if you need to fight Rocketeers!
1d •
Tool Tip For New Raiders!
Standard "Cheap" Loadout for you! In case you are tired of running free kits! Level 1 Looter Augment Level 1 Shield 5 Basic Bandages 5 Light Shield Rechargers 5 Adrenaline Shots Kettle 1 (Or Better) Kettle Attachments: Level 1 Compensator, Level 1 Angled Foregrip, Level 1 Stable Stock, Level 1 Extended Mag
1
0

6d •
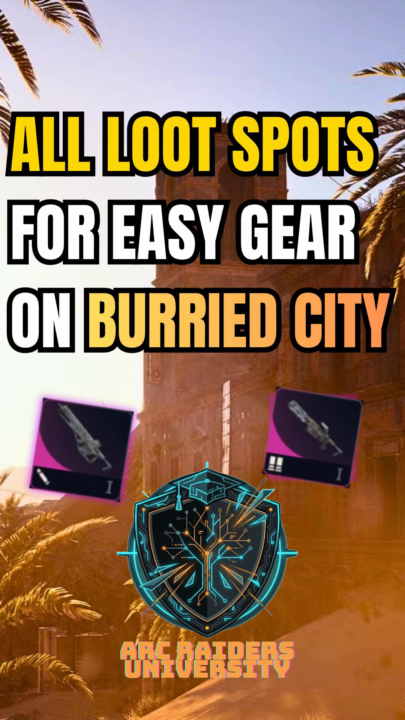
Buried City – Easy Loot Routes for Early Gear (No PvP Required)
Buried City is still one of the most consistent maps for gearing up if you stop trying to do everything in one run. This guide focuses on low-risk, repeatable loot spots you can hit reliably — whether you’re new, solo, or just trying to stabilize gear. What this route covers Weapon Cases Reliable spawns that are quick to check and easy to disengage from. Great for early weapons, attachments, and safe upgrades. Med Crates Often overlooked but extremely valuable. Knowing where these are lets you extend raids without gambling fights. Security Breach Locations Only worth doing when the area is already quiet. These are efficiency plays, not objectives you force. Fruit & Provision Spawns Underrated and extremely useful, especially for longer routes or back-to-back raids. Dangerous Arc Zones High reward, high punishment. These areas demand patience, awareness, and clean exits — not speed. Route philosophy (this matters more than locations) • Hit 2–3 strong locations, then rotate out • Avoid clearing buildings just because you’re there • Audio matters more than visuals on this map • If an area feels empty, assume someone is holding it Consistency beats greed every time. Who this route is best for • New Raiders learning map flow • Solo players avoiding unnecessary PvP • Duos looking to build gear without attracting attention This post is paired with visual guides showing exact locations and safer approaches. Those are posted separately to keep things clear and readable. If you’ve discovered alternate spawns, safer paths, or better rotations — share them below. That’s how this place stays useful. More Buried City breakdowns coming soon.
1-19 of 19
skool.com/arcraiders
Arc Raiders University: practical lessons, map knowledge, loadouts, and decision-making to help you survive longer and extract smarter.
Leaderboard (30-day)
1

+5
2

+1
3

+1
Powered by